Exams › Creating an exam
Assign an exam
Set audience, duration, schedule, attempts, location, security and results when assigning an exam.
Last updated
Assigning an exam links it to specific groups or students and defines the conditions for taking it. Follow these steps in the assignment wizard.
Audience, duration and schedule
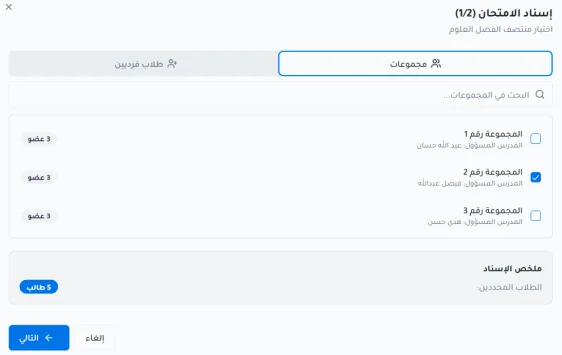
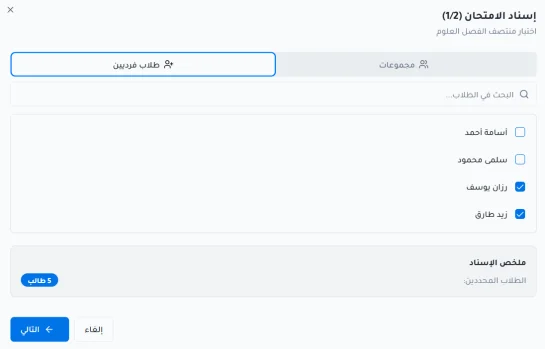
Select the groups or individual students.
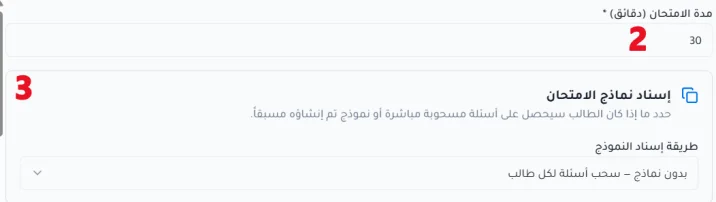
Set the exam duration.
Choose whether the student gets directly drawn questions or a pre-generated form.
Set the exam start and end date and time.

Attempts and display settings
Set the attempts and display settings.
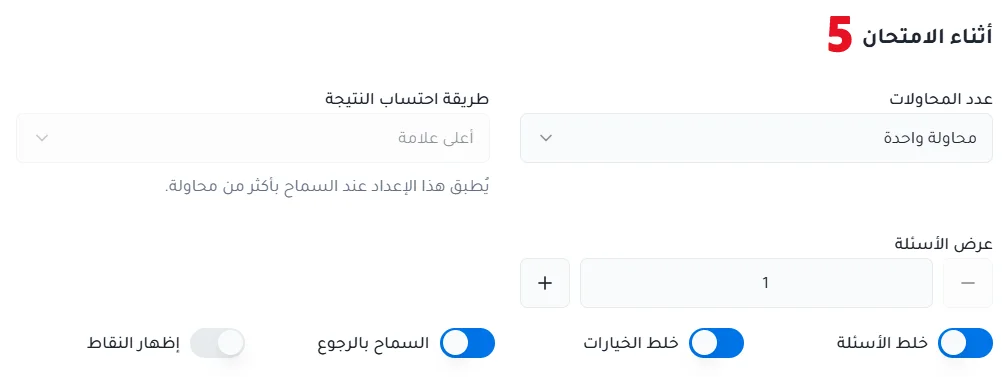
Number of attempts: how many times the student is allowed to take the exam.
Scoring method for multiple attempts: highest score, last completed attempt score, first completed attempt score, or lowest score.
Questions per page: the number of questions shown to the student on each page, up to a maximum of 10 questions.
With multiple attempts, the system determines the counted attempt and its result according to the chosen scoring method. This result appears as the official result on the grading page and is used when showing the student's result.
Exam location
Choose the exam location.

Online: the student can take the exam remotely.
In lab: the student may take the exam when connected to an internet network whose IP address matches the allowed IP addresses defined for the lab in the assignment settings. The student cannot take the exam from any other network that is not allowed.
Mixed: allows taking the exam online or from the lab, according to the connection conditions approved for each method.
Security and password
Set the security and password options.
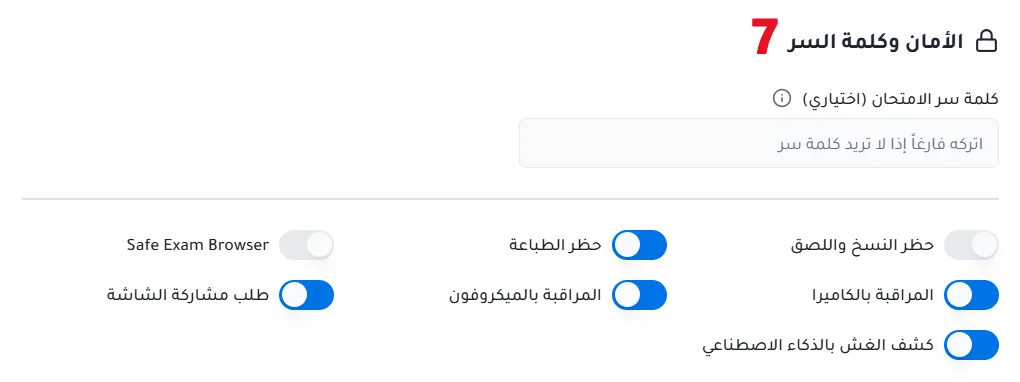
Exam password (optional): a password the student must enter when opening the exam.
Block copy and paste: prevents copying and pasting during the exam.
Block printing: prevents printing the exam content.
Safe Exam Browser: enables the secure exam browser for taking the exam.
Camera proctoring: enables the camera to monitor the student during the exam.
Microphone proctoring: enables the microphone during the exam.
Require screen sharing: asks the student to share their screen while taking the exam.
AI cheating detection: enables AI-based monitoring to verify the student's identity before the exam starts and track their presence in front of the camera during the exam.
Results and assignment
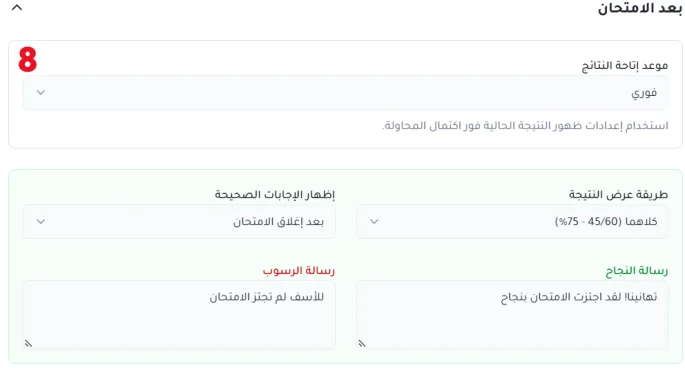
Set when exam results become available, how the result is displayed, and whether to show correct answers.
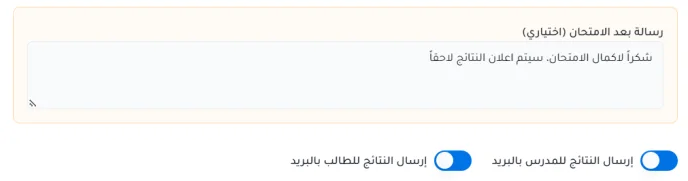
Click Assign exam. You can go back to earlier steps to make changes.
